
Over the last few days a number of people have asked us how to get Timebox. When we say go to the App Store and download it, they sometimes look frustrated and a bit annoyed. We get it. It’s not actually as easy as it sounds. Here is a step by step guide to get Timebox. We hope it helps.
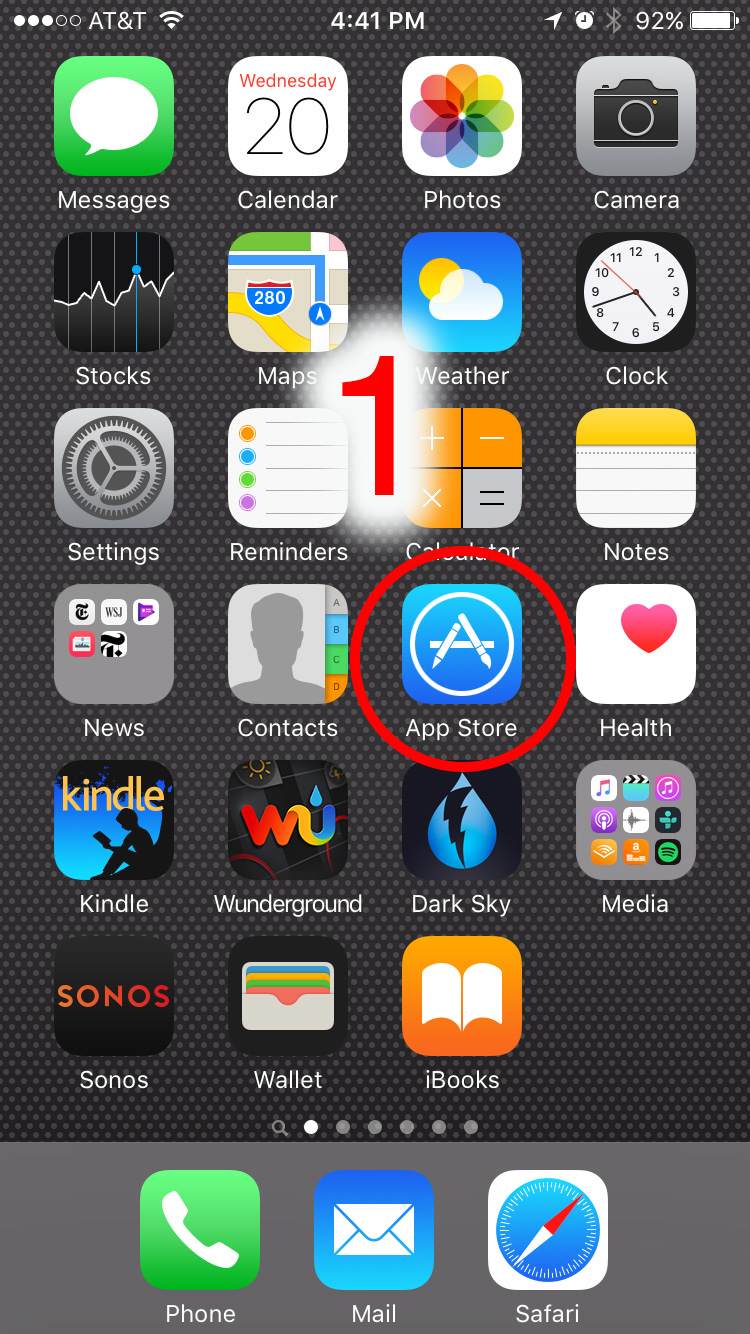
- On your iPhone or iPad, tap the App Store icon.
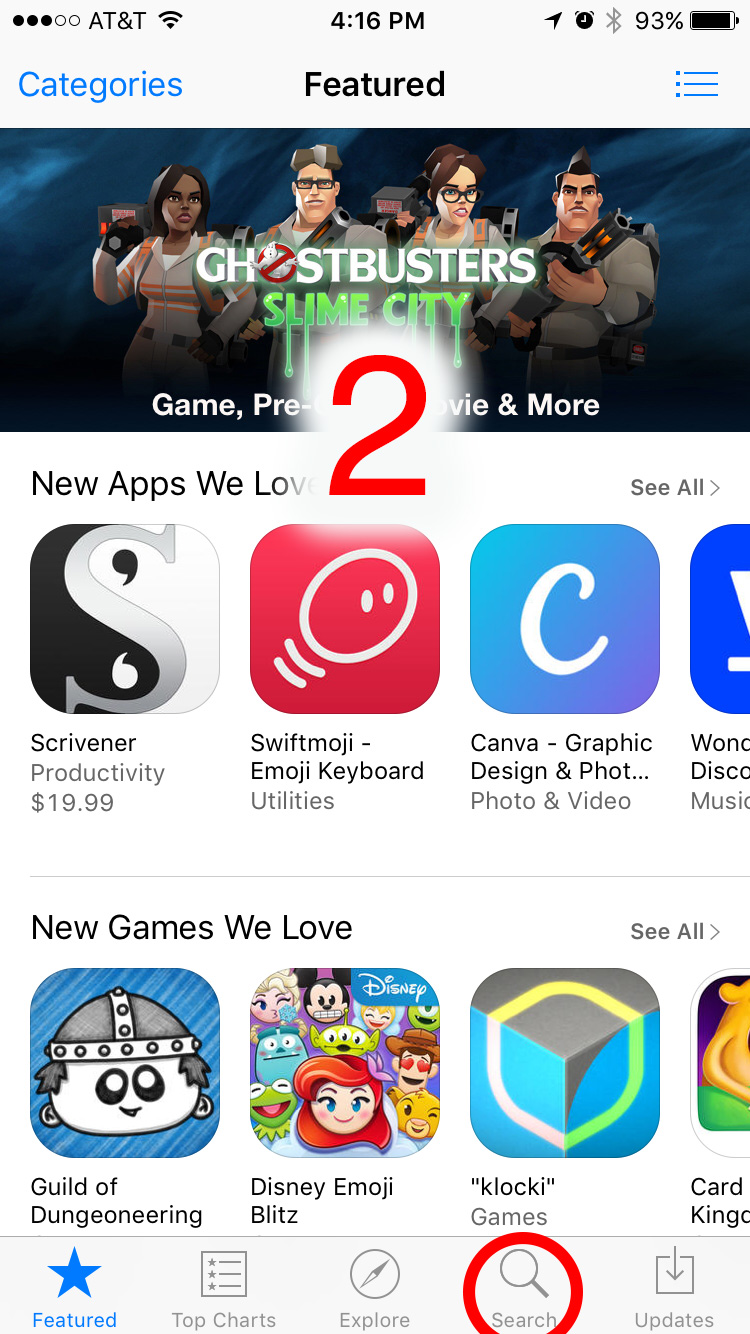
- Tap Search and then type Timebox.
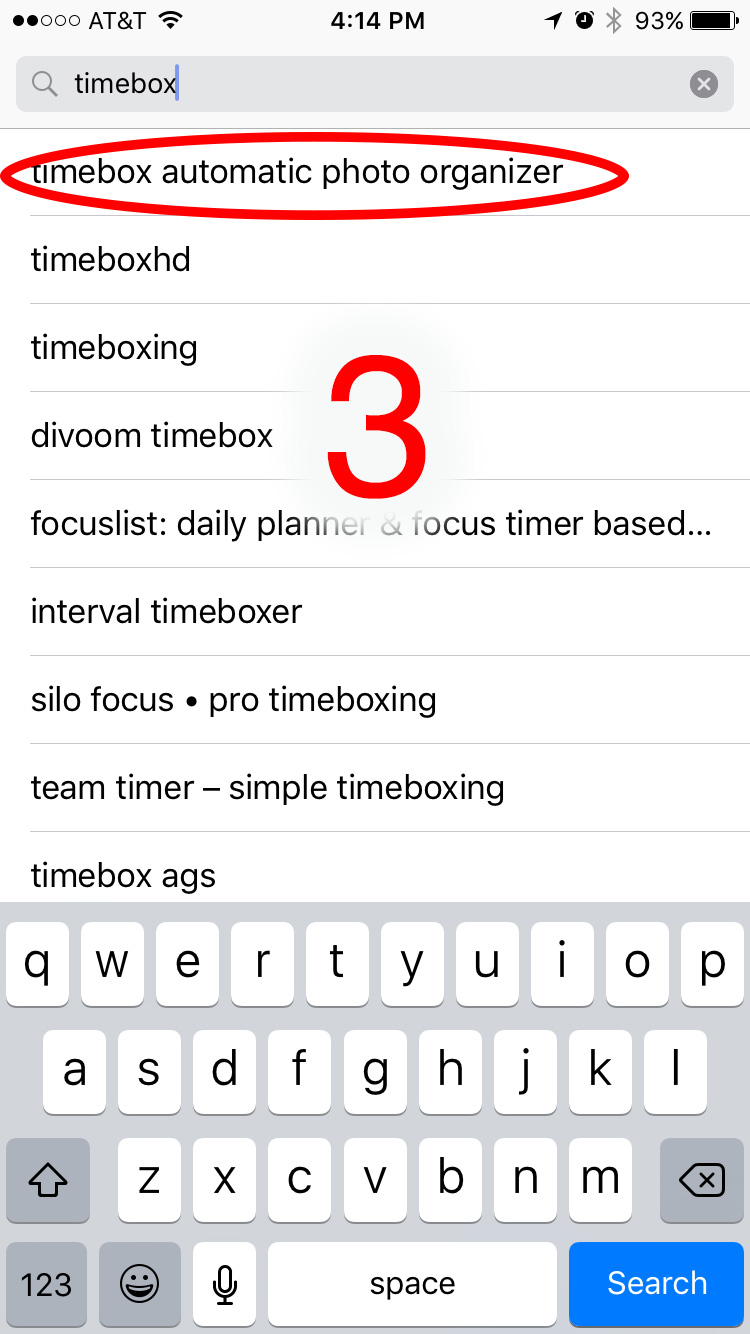
- Tap Timebox Automatic Photo Organizer in the search results.
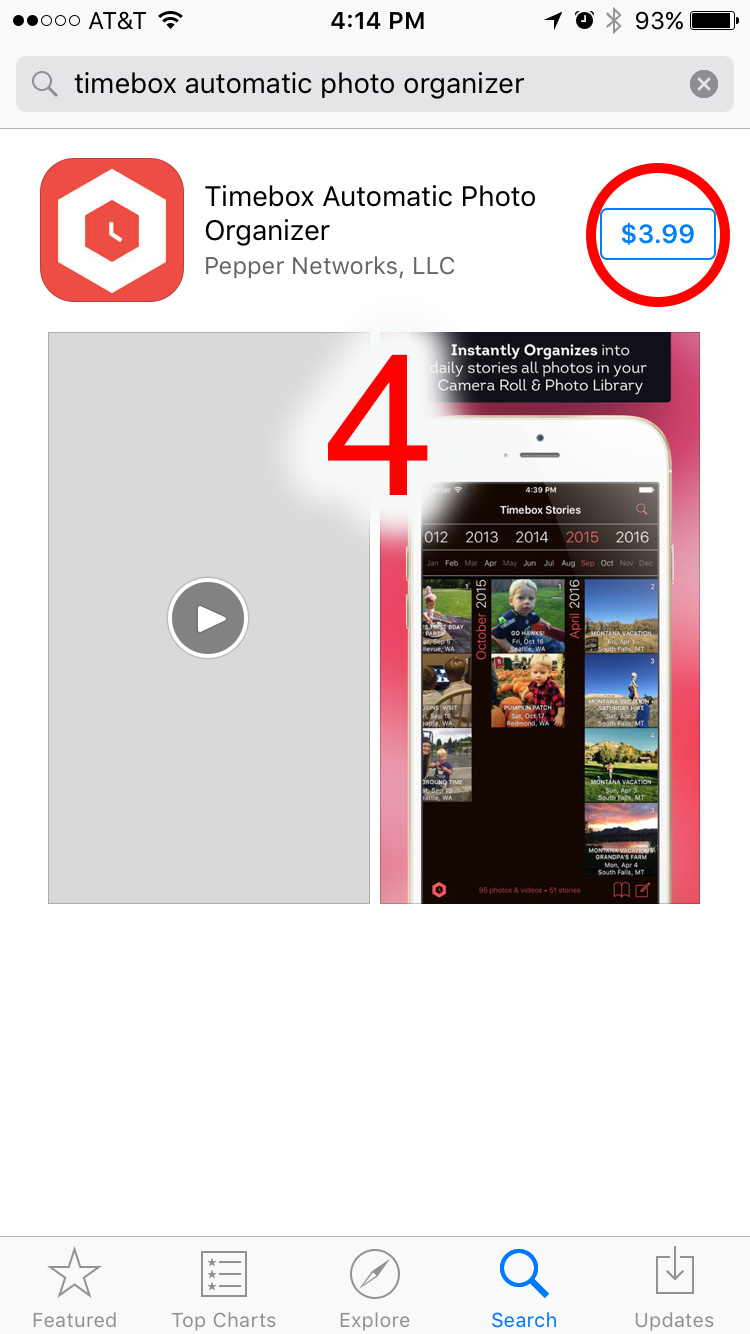
- On the Timebox page tap $3.99 then tap Buy to download and install it. At that point, you’ll also most likely be asked to type in your App Store password or use Touch ID.
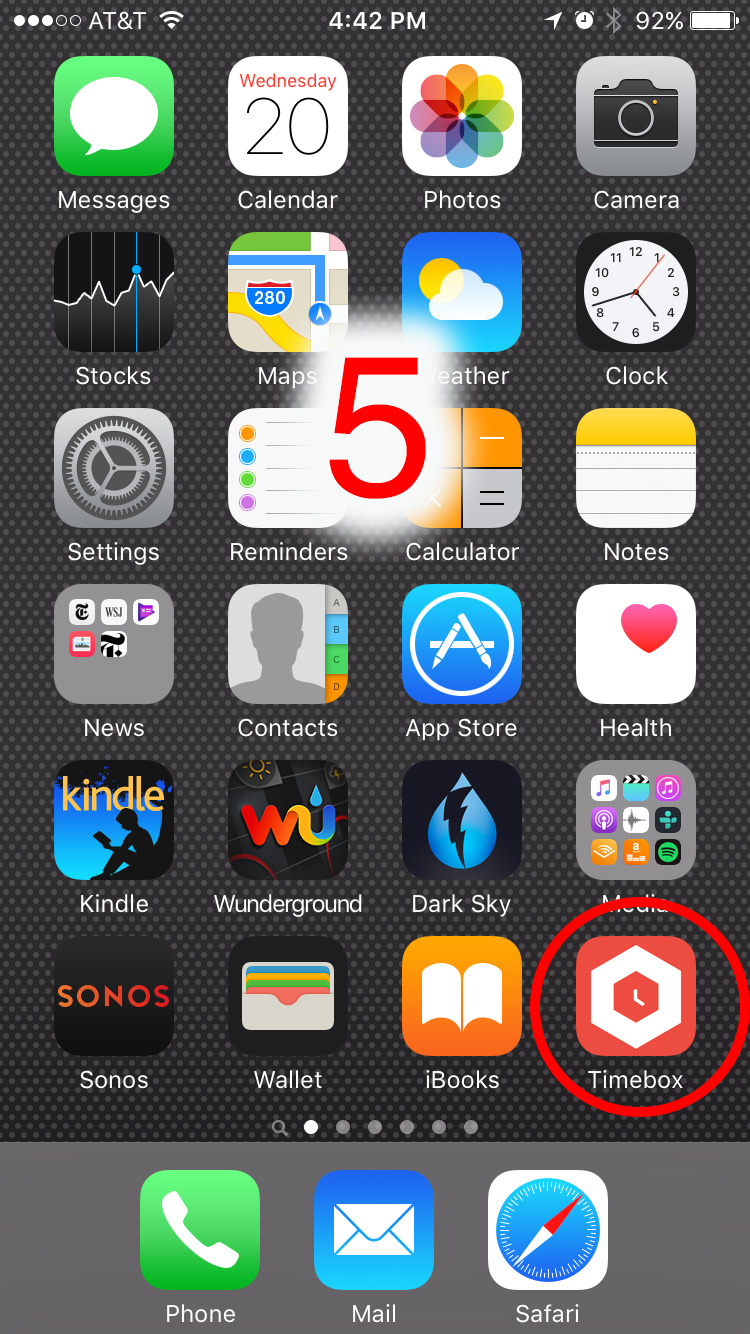
- Once Timebox as been installed on your iPad or iPhone, just tap the Timebox icon to launch it.
Since Timebox is a photo organizer app it will need permission to access your photos and access to your calendar to create your daily photo stories. If you don’t give Timebox permission, it won’t work.
Here are the permission request messages that are displayed by iOS the first time your launch Timebox:
- Timebox would like to access your Photos. Don’t Allow / OK
- Timebox would like to access your Calendar. Don’t Allow / OK
That’s it. You’re done.
By the way, all of the photos, videos and stories in Timebox are stored on your device or in your own iCloud storage. We (Pepper Networks, LLC) do not store any of your data anywhere else, ever.
As always, questions and comment welcome. We love to hear from you.
If you had a moment, we would really appreciate it if you would rate Timebox. Its easy. Just tap the Timebox icon in lower left corner of the Timebox timeline, then tap Rate Timebox. Thanks!